Imagine your favorite comfort foods joining forces in one gloriously bubbling, cheesy dish. That’s exactly what this incredible Cheesy Baked Pierogi Casserole with Kielbasa delivers! We’re talking soft, pillowy pierogies snuggled up with savory, smoky kielbasa sausage, all bathed in a rich, creamy, decadent cheese sauce. If you’ve enjoyed my classic homemade pierogi recipe or those quick kielbasa bites, think of this casserole as their super easy, crowd-pleasing cousin. This has become my absolute go-to recipe when I need a hearty, satisfying meal that comes together fast and makes the whole family happy. It’s pure comfort in a dish!
❤️ Why You’ll Absolutely Love This Pierogi Casserole Recipe
- Ultimate Comfort Food: Creamy, cheesy, loaded with savory pierogies and sausage – it’s the definition of a cozy, satisfying meal. Perfect for chilly evenings!
- Seriously Easy Prep: With just about 10 minutes of hands-on time, this recipe is perfect for busy weeknights. The oven does most of the work!
- Family-Friendly Favorite: The familiar flavors of pierogies and sausage coated in cheese sauce are always a hit with both kids and adults.
- Versatile & Customizable: Easily swap pierogi fillings (potato & cheddar, sauerkraut, mushroom!) or even try different types of smoked sausage.
- Great for Potlucks & Gatherings: This casserole travels well and is always one of the first dishes to disappear!
🛒 Ingredients You’ll Need
Here’s everything you need to gather to create this amazing cheesy pierogi bake. Using frozen pierogi, a type of filled dumpling popular in Central and Eastern European cuisine, makes this dish incredibly convenient.
| Quantity | Unit | Ingredient | Notes |
|---|---|---|---|
| 14 | oz | Kielbasa Sausage | Sliced ¼-inch thick (Polish sausage or other smoked sausage works too) |
| 32 | oz | Frozen Pierogies | Any savory variety (e.g., potato & cheese, sauerkraut, meat) |
| 8 | oz | Cream Cheese | Softened (crucial for a smooth sauce!) |
| ½ | cup | Sour Cream | Full-fat recommended for richness |
| ½ | cup | Chicken Broth | Low-sodium preferred |
| 1 | tsp | Onion Powder | |
| 1 | tsp | Garlic Powder | |
| ½ | tsp | Salt | Adjust to taste, considering sausage saltiness |
| ½ | tsp | Black Pepper | Freshly ground if possible |
| 1 | cup | Shredded Cheddar Cheese | Divided (Medium or Sharp) |
| 1 | cup | Shredded Mozzarella Cheese | Divided (Low-moisture, part-skim) |
| Optional | Sliced Green Onions | For garnish |
Tip: Don’t skip softening the cream cheese! Let it sit at room temperature for an hour or two, or carefully microwave it in 15-20 second bursts until softened but not melted. This ensures your cheese sauce blends perfectly smooth without lumps.
🧑🍳 Step-by-Step Instructions for Cheesy Baked Pierogi Casserole
Let’s make this delicious pierogi bake! Follow these simple steps:
- Prep Your Dish & Oven: Preheat your oven to 375°F (190°C). Lightly grease a 9×13-inch baking dish with non-stick cooking spray or a little butter. Arrange the sliced kielbasa and the frozen pierogies in a relatively even layer in the prepared dish. No need to thaw the pierogies!
- Make the Creamy Cheese Sauce: In a large mixing bowl, combine the softened cream cheese and sour cream. Beat with a whisk or electric mixer until smooth and creamy. Gradually whisk in the chicken broth until incorporated. Stir in the onion powder, garlic powder, salt, pepper, and half of the shredded cheddar and half of the shredded mozzarella cheese. Whisk until everything is fully combined and the sauce is smooth.
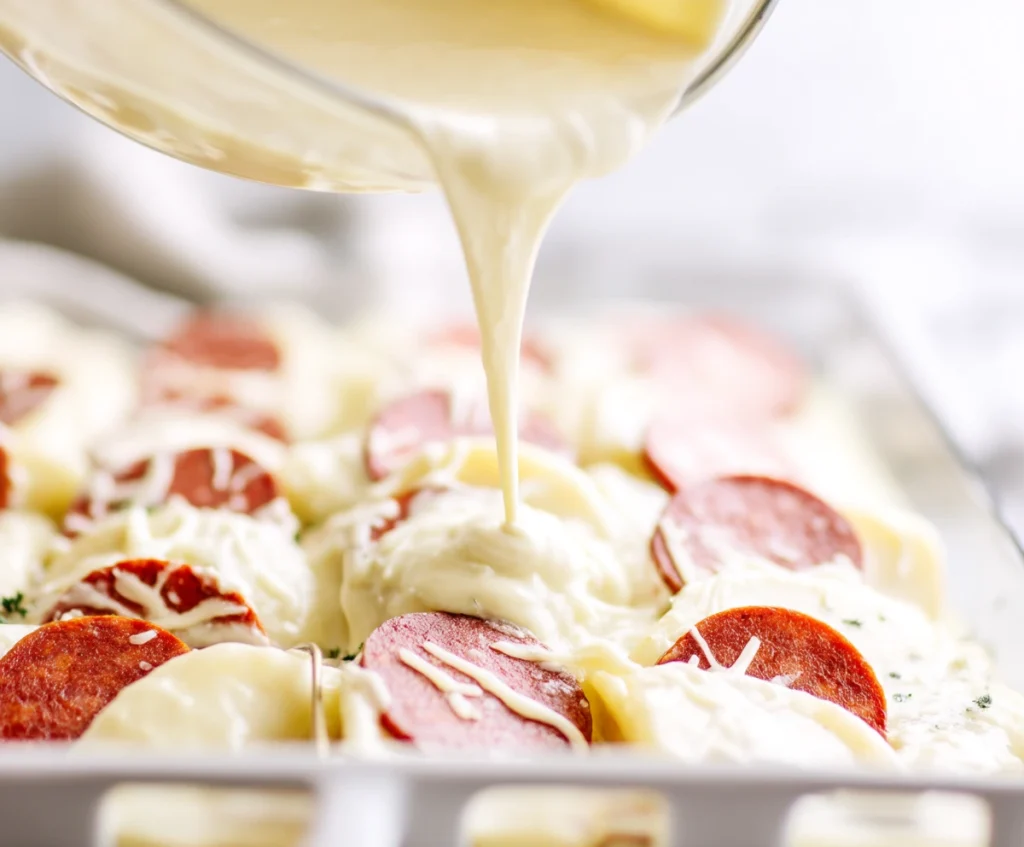
- Assemble the Casserole: Pour the prepared cheese sauce evenly over the kielbasa and pierogies in the baking dish. Use a spatula to gently mix and toss everything together, ensuring the pierogies and sausage are well coated with the sauce.
- Top & Bake (First Stage): Sprinkle the remaining half of the cheddar and mozzarella cheese evenly over the top of the casserole. Cover the baking dish tightly with aluminum foil. Bake in the preheated oven for 30 minutes. Covering helps the pierogies cook through gently and prevents the top from browning too quickly.
- Bake Uncovered (Second Stage): Carefully remove the aluminum foil from the baking dish. Return the casserole to the oven and continue baking uncovered for another 10-15 minutes, or until the sauce is bubbly around the edges and the cheese topping is melted, golden brown, and delicious-looking.
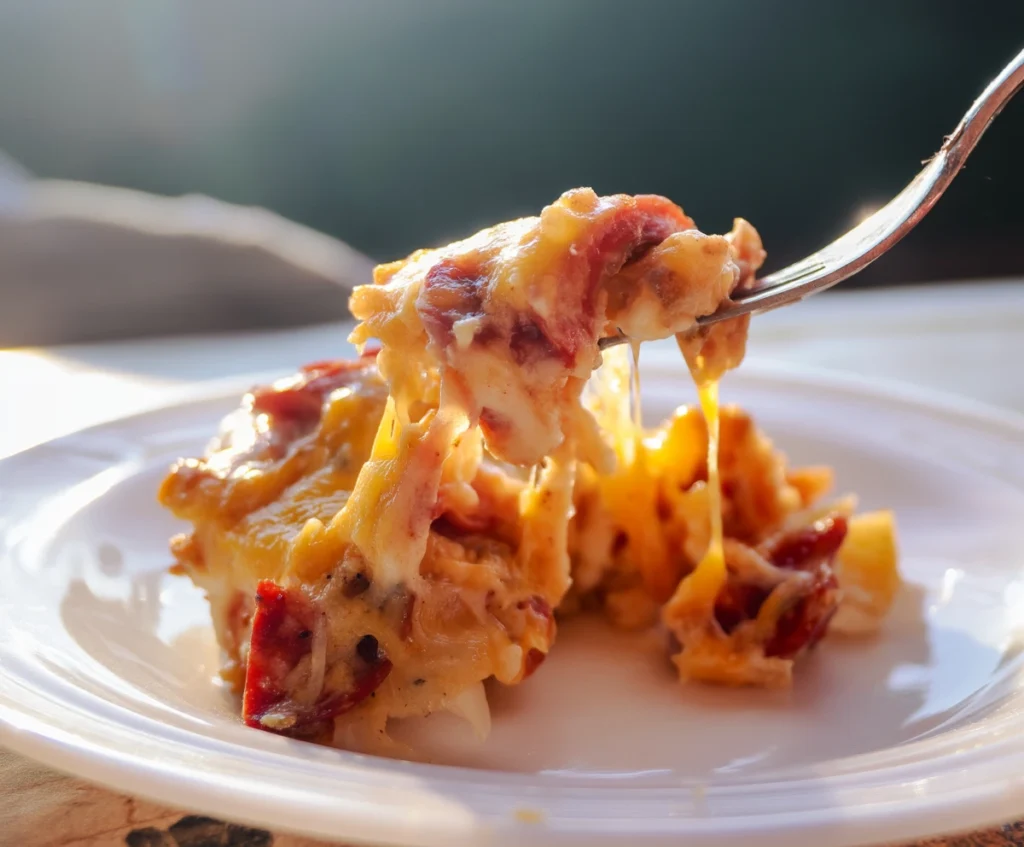
- Rest, Garnish & Serve: Remove the casserole from the oven and let it rest for 5-10 minutes before serving. This allows the sauce to thicken slightly. Garnish generously with sliced green onions, if desired, for a pop of color and freshness. Serve warm and enjoy the cheesy goodness!
💡 Expert Tips for Success
Want to guarantee your pierogi casserole turns out perfectly every time? Keep these tips in mind:
- Soften That Cream Cheese: I know I mentioned it before, but it’s key! Lumpy sauce is no fun. Room temperature is best.
- Don’t Thaw Pierogies: Use them straight from frozen. Thawing can make them mushy during baking.
- Cheese Choices: Feel free to mix up the cheeses! Colby Jack, Monterey Jack, or even a sprinkle of Parmesan would be delicious. Shredding your own cheese from a block often results in better melting than pre-shredded bags (which contain anti-caking agents).
- Sausage Sauté (Optional): For extra flavor, you can quickly brown the kielbasa slices in a skillet before adding them to the baking dish. Drain any excess fat.
- Watch the Browning: Keep an eye on the casserole during the uncovered baking stage. If the top browns too quickly, you can loosely tent it with foil again.
- Spice it Up: Add a pinch of red pepper flakes or a dash of hot sauce to the cheese sauce for a little kick.
🍽️ Serving Suggestions
This Cheesy Baked Pierogi Casserole is hearty enough to be a meal on its own, but it pairs wonderfully with lighter sides to balance the richness:
- A simple green salad with a tangy vinaigrette dressing.
- Steamed or roasted green beans, broccoli, or asparagus.
- Sautéed zucchini or summer squash with garlic.
- Crispy Roasted Brussels Sprouts
- A side of applesauce for a traditional Polish-inspired touch.
🥡 Storage and Freezing Instructions
Leftovers are fantastic (if you have any!). Here’s how to store them:
Refrigerator: Store leftover casserole covered tightly in the baking dish or transferred to an airtight container in the fridge for up to 4 days.
Freezing: Yes, you can freeze this casserole! For best results, freeze in individual portions in freezer-safe containers for up to 2 months. Thaw overnight in the refrigerator before reheating.
Reheating: Warm gently in the microwave or, for best results, cover with foil and reheat in a 350°F (175°C) oven until heated through (about 15-25 minutes, depending on the amount).
❓ Frequently Asked Questions (FAQs) about Cheesy Baked Pierogi Casserole
What kind of pierogies work best?
Honestly, most savory frozen pierogies work great! Potato and cheddar is classic, but potato and onion, sauerkraut, or even meat-filled pierogies are delicious in this casserole. Use your favorite!
Can I use a different type of sausage?
Absolutely! Any good smoked sausage will work. Try andouille for a spicy kick, chicken sausage for a lighter option, or even sliced smoked ham. Just ensure it’s pre-cooked.
Can I make this pierogi casserole vegetarian?
Yes! Simply omit the kielbasa. You could add some sautéed mushrooms, onions, and bell peppers for extra flavor and texture instead. Use vegetable broth instead of chicken broth in the sauce.
Can I prepare this casserole ahead of time?
Yes, this is a great make-ahead dish. Assemble the entire casserole as directed (up to step 4, before baking), cover tightly with foil, and refrigerate for up to 3 days. When ready to bake, you might need to add 10-15 minutes to the initial covered baking time since it’s starting cold.
📖 More Cozy Recipes You Might Like
If you loved this easy Cheesy Baked Pierogi Casserole with Kielbasa, you might also enjoy these other comforting dishes:
- The Ultimate One Pot Creamy Ground Turkey Pasta (Easy & Delicious!)
- Smoky Slow Cooker Chipotle Chicken Corn Chowder (Easy & Creamy!)
- Creamy Mexican White Spaghetti (Easy Espagueti Blanco Recipe!)
- Easy Slow Cooker Italian Chicken (Seriously Simple!)
Final Thoughts
Making this Cheesy Baked Pierogi Casserole with Kielbasa is truly like giving your family a warm hug on a plate. It’s simple, uses readily available ingredients (hello, frozen pierogies!), and delivers huge comfort food flavor with minimal effort. I truly hope this easy pierogi bake becomes a favorite in your home too!

