When exploring how to prepare game meat, few dishes are as rewarding or as quick to master as Pan-Seared Duck Breast. Forget any preconceived notions about duck being complicated or fatty; this method focuses on creating incredibly crispy skin while keeping the meat perfectly juicy and tender. It’s a fantastic way to showcase the rich flavor of duck, proving that cooking wild meat can be both simple and sophisticated.
I remember the first time I successfully pan-seared duck breast. The sound of the skin crisping in the pan and the stunning medium-rare interior when sliced felt like a true culinary achievement! This Pan-Seared Duck Breast Recipe breaks down the technique into easy-to-follow steps, ensuring you get that coveted crackling skin and succulent meat every time.
Whether you’re new to cooking wild meat or looking for a reliable method for duck, this guide will give you the confidence to create a delicious meal that’s sure to impress.
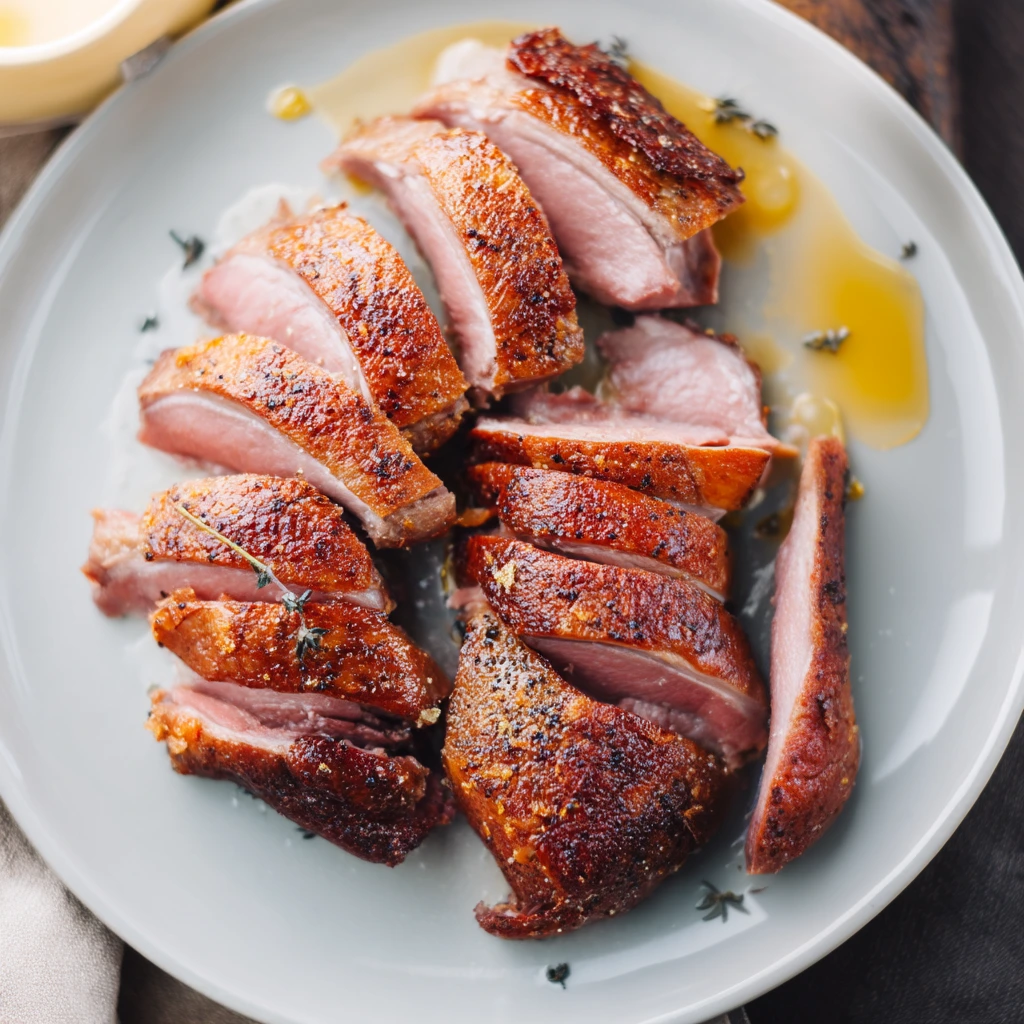
Before we dive in, here are the key details for this recipe:
| ⏲️ Prep Time: 10 mins | 🔥 Cook Time: 12-15 mins | ⏰ Total Time: 22-25 mins |
| 🥣 Yields: 2-4 servings | 🍳 Difficulty: Medium |
❤️ Why You’ll Absolutely Love This Pan-Seared Duck Breast
- Incredibly Delicious: The crispy skin paired with tender, rich meat is a culinary delight.
- Quick & Easy: It takes less than 15 minutes to cook! Perfect for a weeknight indulgence.
- Impressive Results: This dish looks and tastes like something you’d order at a nice restaurant.
- Masters a Key Technique: Learn how to prepare game meat by perfectly rendering fat and searing.
🛒 Ingredients You’ll Need
Here’s everything you need to gather to make this amazing Pan-Seared Duck Breast. The key is quality duck and simple seasonings.
- 2 duck breasts (about 6-8 oz each), skin on
- 1 tsp kosher salt
- 1/2 tsp black pepper, freshly ground
- Optional: Fresh sprigs of thyme or rosemary
Ingredient Note: Look for duck breasts with the skin still on, as this is essential for the crispy skin technique. Ensure they are fully thawed and patted very dry before you start – moisture is the enemy of crispy skin!
🍳 Step-by-Step Instructions for Pan-Seared Duck Breast
Let’s walk through how to prepare game meat in this elegant way, step by step. Getting that crispy skin is all about the method!
- Prep the Duck Breast: Using a sharp knife, score the skin of each duck breast in a crisscross pattern, being careful not to cut into the meat. This helps the fat render more easily. Pat the breasts very dry on both sides with paper towels. Season generously all over with salt and pepper.
- Start Skin-Side Down: Place the duck breasts, skin-side down, in a cold, dry skillet (cast iron or stainless steel works best). There’s no need for oil; the fat will render out.
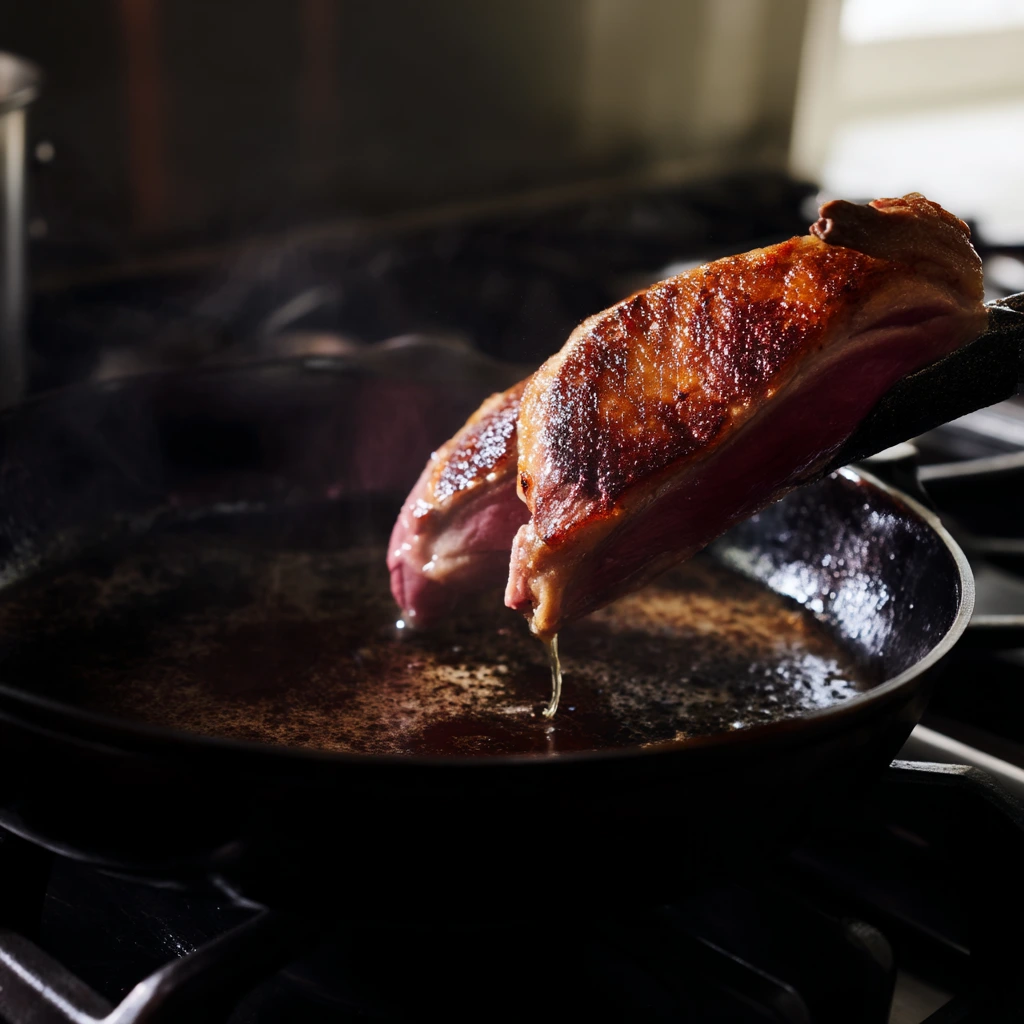
- Render the Fat: Turn the heat to medium-low to medium. Cook skin-side down for 8-12 minutes. You’ll see the fat starting to render out and pool in the pan. The skin should slowly turn golden brown and then deep golden, becoming crispy. Periodically pour off the rendered duck fat into a heatproof container (save this liquid gold for cooking potatoes or vegetables!). If using, add the thyme or rosemary sprigs to the pan during the last few minutes on the skin side.
- Sear the Flesh Side: Once the skin is deeply golden and crispy, flip the duck breasts over. Increase the heat slightly to medium-high and sear the meat side for 3-4 minutes for medium-rare (internal temperature of 130-135°F or 54-57°C). Cooking time will vary based on the thickness of the breast and your desired doneness.
- Rest the Meat: Remove the duck breasts from the pan and place them on a cutting board or plate. Tent loosely with foil and let them rest for at least 5-10 minutes. This is a crucial step for juicy meat!
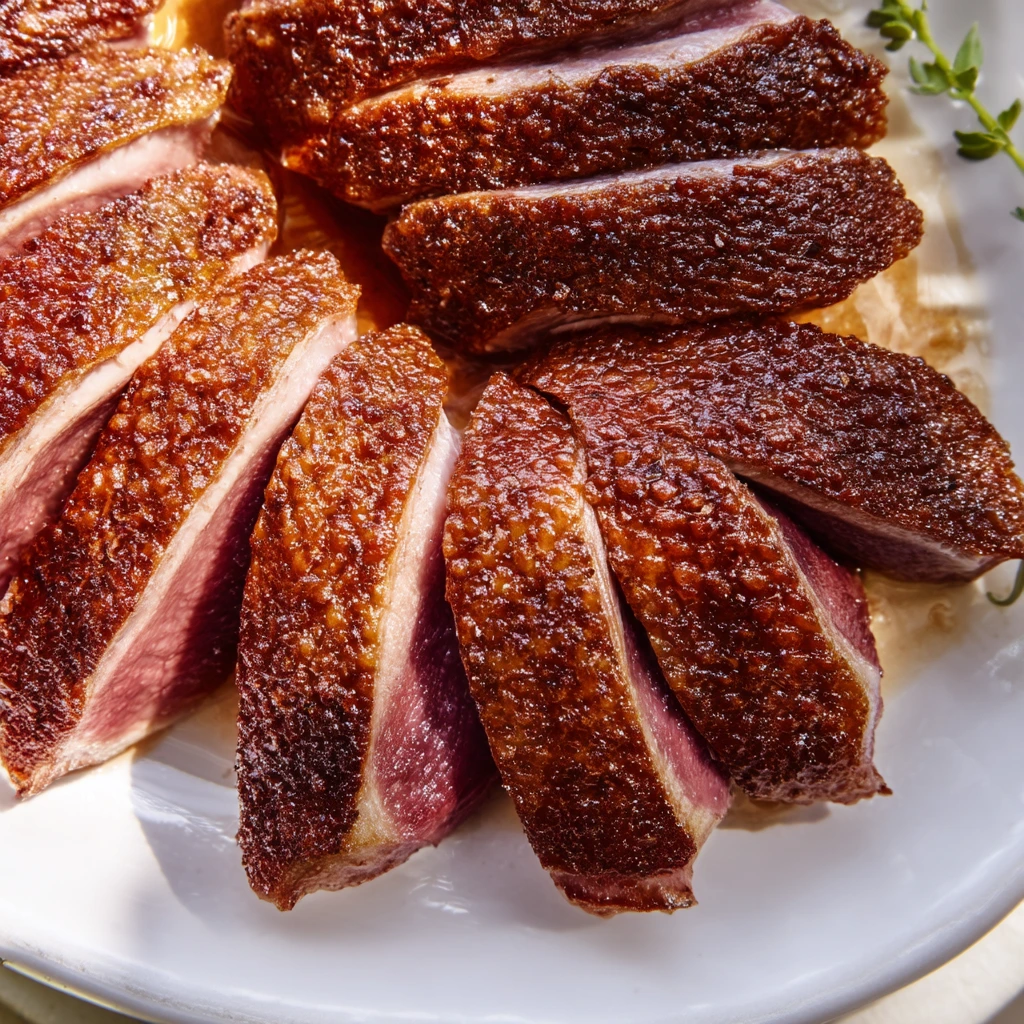
- Slice and Serve: Slice the duck breasts against the grain into thick pieces. Serve immediately.
💡 Expert Tips for Success
Mastering how to prepare game meat like duck breast is all about technique. Here are key tips for perfect results:
- Score Only the Skin: Be careful not to cut into the meat when scoring the skin. This allows the fat to render but keeps the breast intact.
- Start Cold (or Low Heat): Placing the duck breast skin-down in a cold or gently heated pan is the secret to rendering the fat slowly and achieving super crispy skin without burning it.
- Don’t Rush It: The skin-rendering step takes patience. Let it go for the full 8-12 minutes or until it’s deeply golden and crispy.
- Use a Thermometer: For perfect medium-rare (recommended for duck), use an instant-read thermometer. Target 130-135°F (54-57°C) before resting. The temperature will rise slightly as it rests.
- REST! This might be the most important step. Resting allows the juices to redistribute throughout the meat, ensuring every slice is moist and tender.
- Save the Fat: Rendered duck fat is incredibly flavorful and has a high smoke point. Store it in the fridge and use it for roasting potatoes, sautéing vegetables, or making crispy roasted Brussels sprouts!
🍽️ Serving Suggestions
This Pan-Seared Duck Breast is elegant and pairs well with a variety of sides:
- Simple Salad: A fresh green salad with a vinaigrette provides a lovely counterpoint to the richness of the duck.
- Potatoes: Roasted potatoes (especially those roasted in the rendered duck fat!) or creamy mashed potatoes.
- Fruit Sauce: Classic pairings include cherry sauce, orange sauce, or a simple reduction of red wine and berries.
- Greens: Sautéed spinach, kale, or other seasonal greens.
🥡 Storage and Freezing Instructions
Store leftover Pan-Seared Duck Breast, sliced or whole, in an airtight container in the refrigerator for up to 2-3 days. Reheat gently, ideally in a skillet on low heat to re-crisp the skin if possible, or slice cold over a salad.
Freezing: Cooked duck breast can be frozen, but the skin may lose some crispness upon thawing. Wrap tightly in plastic wrap and then foil, or place in a freezer-safe bag. Freeze for up to 1-2 months. Thaw overnight in the refrigerator.
❓ Frequently Asked Questions (FAQs) about Pan-Seared Duck Breast
How long do I cook duck breast for medium-rare?
After rendering the skin for 8-12 minutes, sear the flesh side for 3-4 minutes. The best indicator is an internal temperature of 130-135°F (54-57°C) before resting. Remember, the temperature will rise slightly as it rests.
What do I do with all the rendered duck fat?
Don’t throw it away! Rendered duck fat is liquid gold for cooking. Store it in the refrigerator (it will solidify) and use it for roasting potatoes, vegetables, or even frying eggs. It adds incredible flavor.
Can I finish the duck breast in the oven?
Yes, if your breasts are very thick or you prefer them more cooked, you can finish them in a preheated oven (around 350°F or 175°C) for a few minutes after searing both sides. Always check the internal temperature.
What’s the best way to get the skin crispy?
Score the skin, start in a cold or low-heat pan skin-side down, and let it render slowly. This is the most critical step. Don’t turn the heat up too high initially, or the skin will burn before the fat renders.
📖 More Recipes You Might Like
If you loved this Pan-Seared Duck Breast and are interested in cooking wild meat or other impressive dishes, you might also enjoy these:
- The Ultimate One Pot Creamy Ground Turkey Pasta (Easy & Delicious!))
- Crunch Roll Sushi Bowl: Easy Deconstructed Recipe
- Easy Slow Cooker Italian Chicken (Seriously Simple!)
Final Thoughts
Learning how to prepare game meat like Pan-Seared Duck Breast is a rewarding skill that yields delicious results. This recipe is a perfect example of how a simple technique can transform ingredients into something truly special. Enjoy the process and the incredible meal you create!
Happy searing!
